Creating a time‑of‑day routing plan
Do you wish you could extend your customer service hours but don't have the staff at one location to do it? Using Lumen Connect, you can make that happen by splitting your call traffic between locations. For example, send your inbound, toll-free traffic to your New York office in the morning and your Los Angeles office in the afternoon. For Lumen® Toll Free Service, use the time-of-day feature to start and stop when calls ring at your offices. You can update the routing plan later as your business needs change.
To create a time-of-day routing plan:
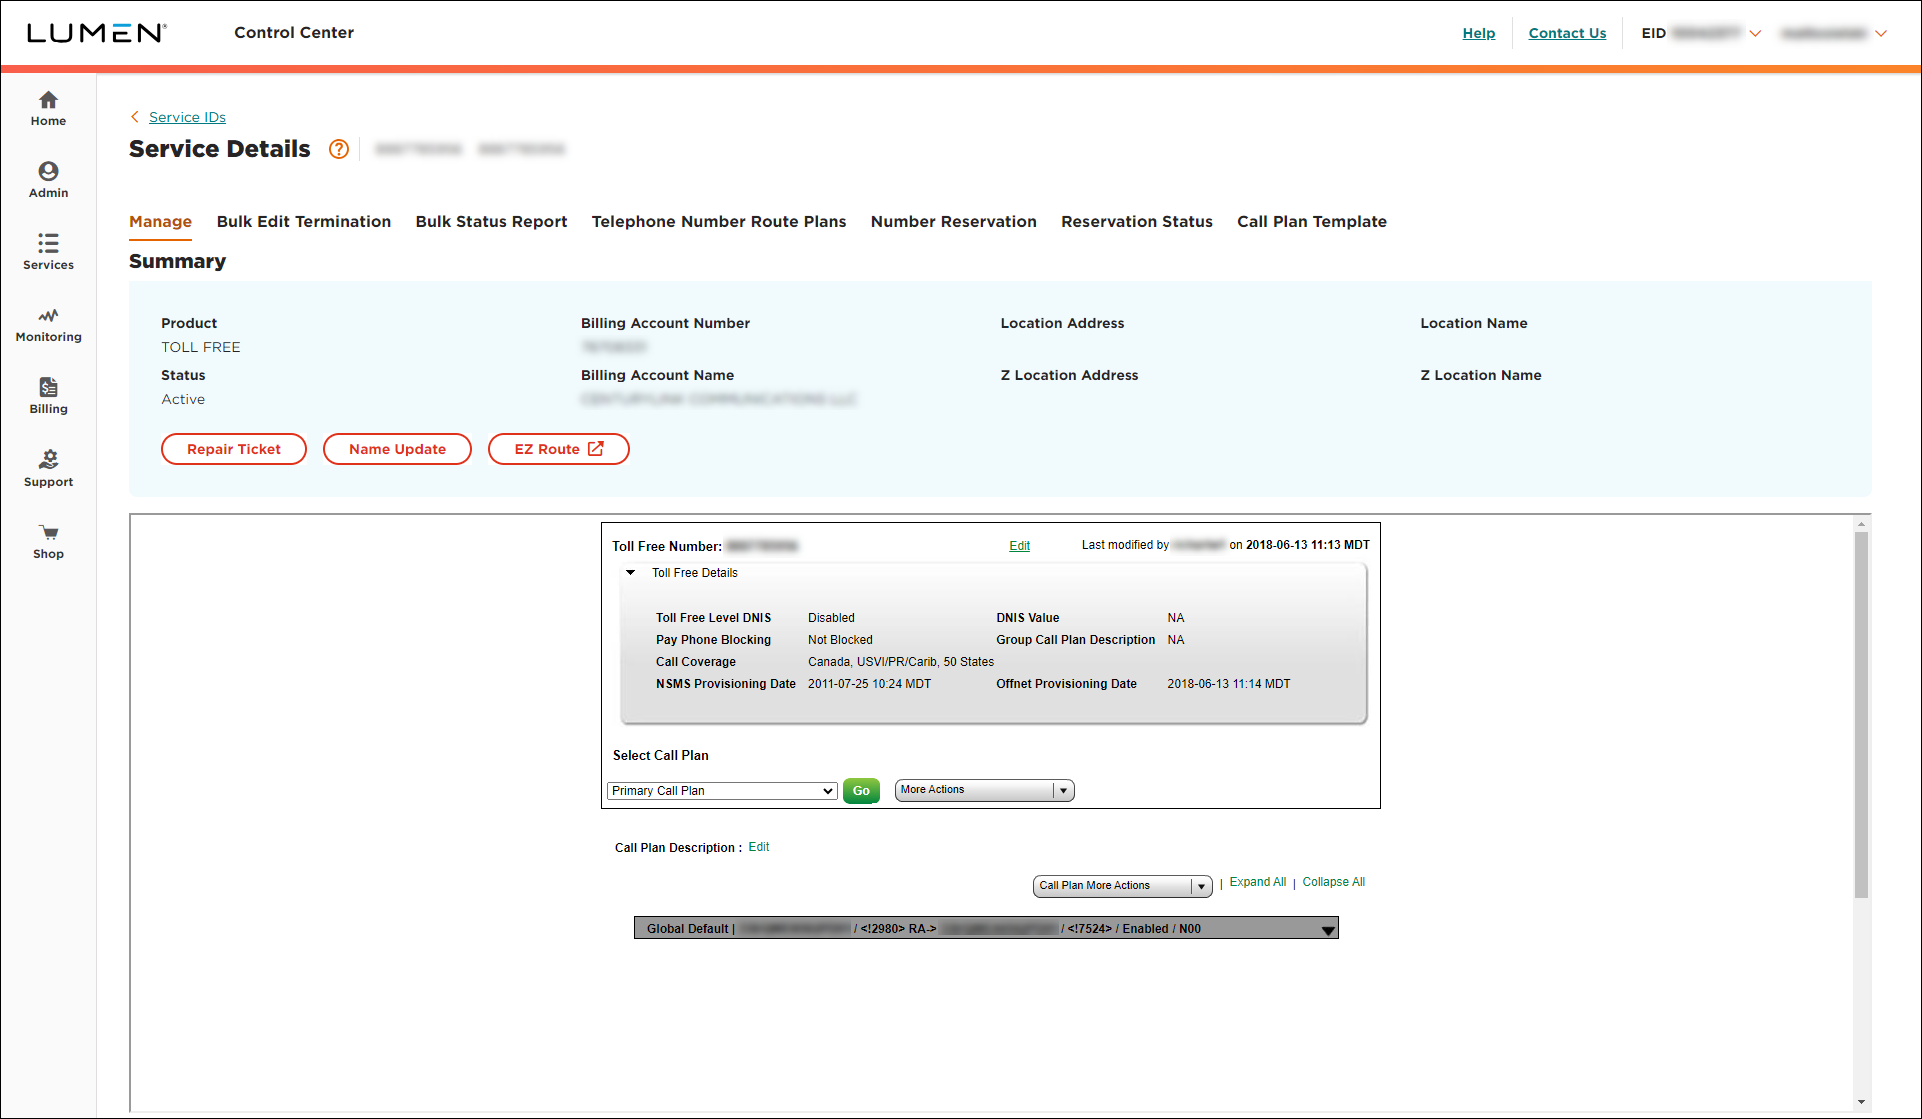
- In the Services widget on the homepage, select Toll Free from the Find by Product or Service Tool list.
Lumen Connect shows all Toll Free services on the enterprise ID.
- Search for the service you want to work with. When you find the service you want to work with, click the hyperlinked service ID or click the icon (in the Actions column), then click View Details.
Lumen Connect shows details for the toll-free service you selected.

- From the Call Plan More Actions list, select Edit Call Plan.
- On the right of the global default (dark gray) bar, click the down arrow, then click Add New Feature.
- In the popup window, select Time of Day (from the Select Feature list), then click Submit.
- If the Confirm Feature Add/Delete window appears, click Accept.
- In the Default Routing Type section, select the radio button for the routing type you want to use for the feature.
- From the Time Zone list, select a time zone for the routing plan.
- Click Add Rule.
From here, you're creating a rule to tell the system what to do when someone calls a specific phone number. For instance, when customers call your toll‑free number between 6:00 am and noon, they get routed to a particular phone number.
- Depending on what kind of number you want to route, in the Terminating Route Type section, do one of the following:
- To add a dedicated trunk:
- Select the DED radio button.
- From the Primary Trunk list, select the trunk.
- Select the DED radio button.
- To add a switched ANI:
- Select the SWI radio button.
- From the ANI list, select the terminating route. (If you don't see the trunk/ANI you need, click the ADD ANI TO THE LIST button, fill in the fields, click Add, then select the number from the list.)
- Select the SWI radio button.
- To add a dedicated trunk:
Note: If you give the ANI a description, describe it so you and your colleagues will remember it. If you leave the description blank, the phone number will show in the list.
- Scroll down Terminating Route Type section, in the Start Time field, type the time (using the 24‑hour clock) the routing plan starts.
- In the End Time field, type the time (using the 24-hour clock) the routing plan ends.
- Click Update.
- Click Save Changes (you may need to scroll down in the window).
- Select the date and time you want your changes to take effect, then click Submit.
Important: After you schedule the changes, you cannot edit the plan until the pending changes are activated. You can check the status of the request by selecting Job List from the More Actions list.


