Editing a time schedule for a phone number
As your business needs change, use Voice Complete Feature Manager in Lumen Connect to edit a time schedule for a Lumen® Voice Complete® phone number. If you no longer need a time schedule, you can delete it.
To edit a time schedule for a phone number:
- Using the left menu, click Services, click Service Tools, then click Voice Complete Features.
Lumen Connect shows the groups associated with your Voice Complete service.
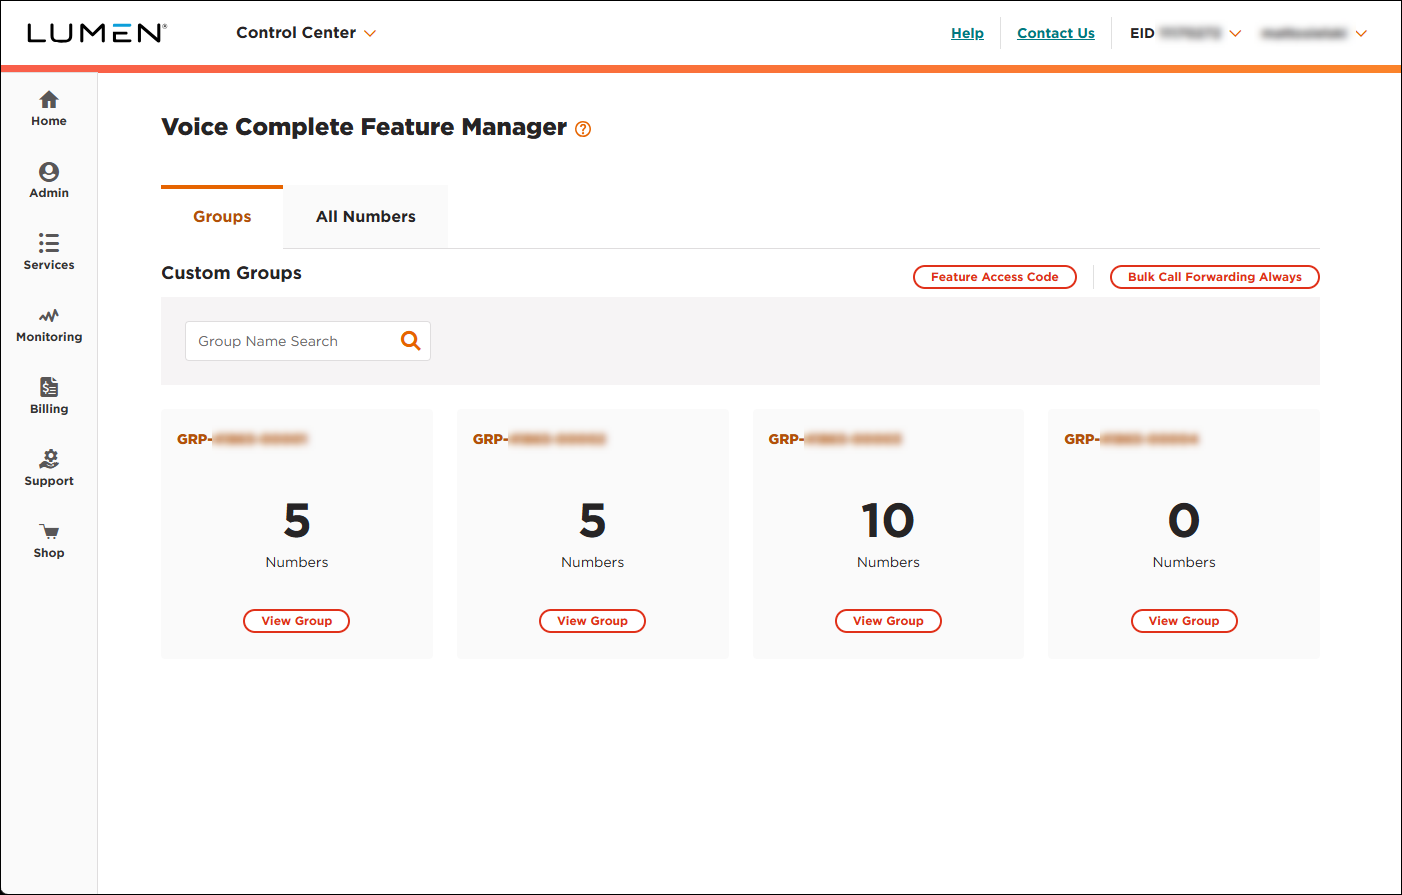
- Search for the phone number you want to work with by doing one of the following:
- If you know the group the phone number belongs to, click View Group on the card for the group.
- Otherwise, click the All Numbers tab, then search for, sort, or filter the list of phone numbers to find the one you're looking for.
- If you know the group the phone number belongs to, click View Group on the card for the group.
- When you find the phone number, click the Manage link (in the Actions column) on the row for the phone number.
Lumen Connect shows the calling features for the phone number.

- Click the Schedules tab.
Lumen Connect shows the time schedules for the phone number (if any).
- In the Existing Schedules list, click the time schedule you want to edit.
Lumen Connect shows details for the time schedule.
- Click Edit.
- Make your changes to the time schedule:
- To change the name of the time schedule, edit the Schedule Name field, then click SAVE (next to the Schedule Name field).
- To add a time range to the schedule, do the following:
- In the box for the day you want to add a time range to, click Add Time Range or Add Another Time Range.
- Use the Start Time and End Time fields to select the beginning and ending times for the time range.
- In the box for the day you want to add a time range to, click Add Time Range or Add Another Time Range.
- To edit a time range, scroll to the day with the time range you want edit, then adjust the Start Time and End Time fields.
- To delete a time range, scroll to the day with the time range you want to delete, then click the next to to the End Time field.
- To change the name of the time schedule, edit the Schedule Name field, then click SAVE (next to the Schedule Name field).
- When you're done, click SAVE (at the bottom of the time schedule).
Lumen Connect saves your changes.


