Creating a virtual machine
Use Lumen® Private Cloud on VMware Cloud Foundation™ to create a virtual machine for your Lumen® Edge Private Cloud service. You can create a virtual machine with a custom operating system (OS) configuration or from a template. After creating a virtual machine, you can create a vApp to serve as a container for virtual machines, change the password for a virtual machine, and view metrics for the virtual machine.
To create a virtual machine:
- Sign in to your Lumen Private Cloud on VMware Cloud Foundation™ environment.
- Click Data Centers.
The Lumen Private Cloud on VMware Cloud Foundation™ portal shows the Virtual Data Center dashboard.
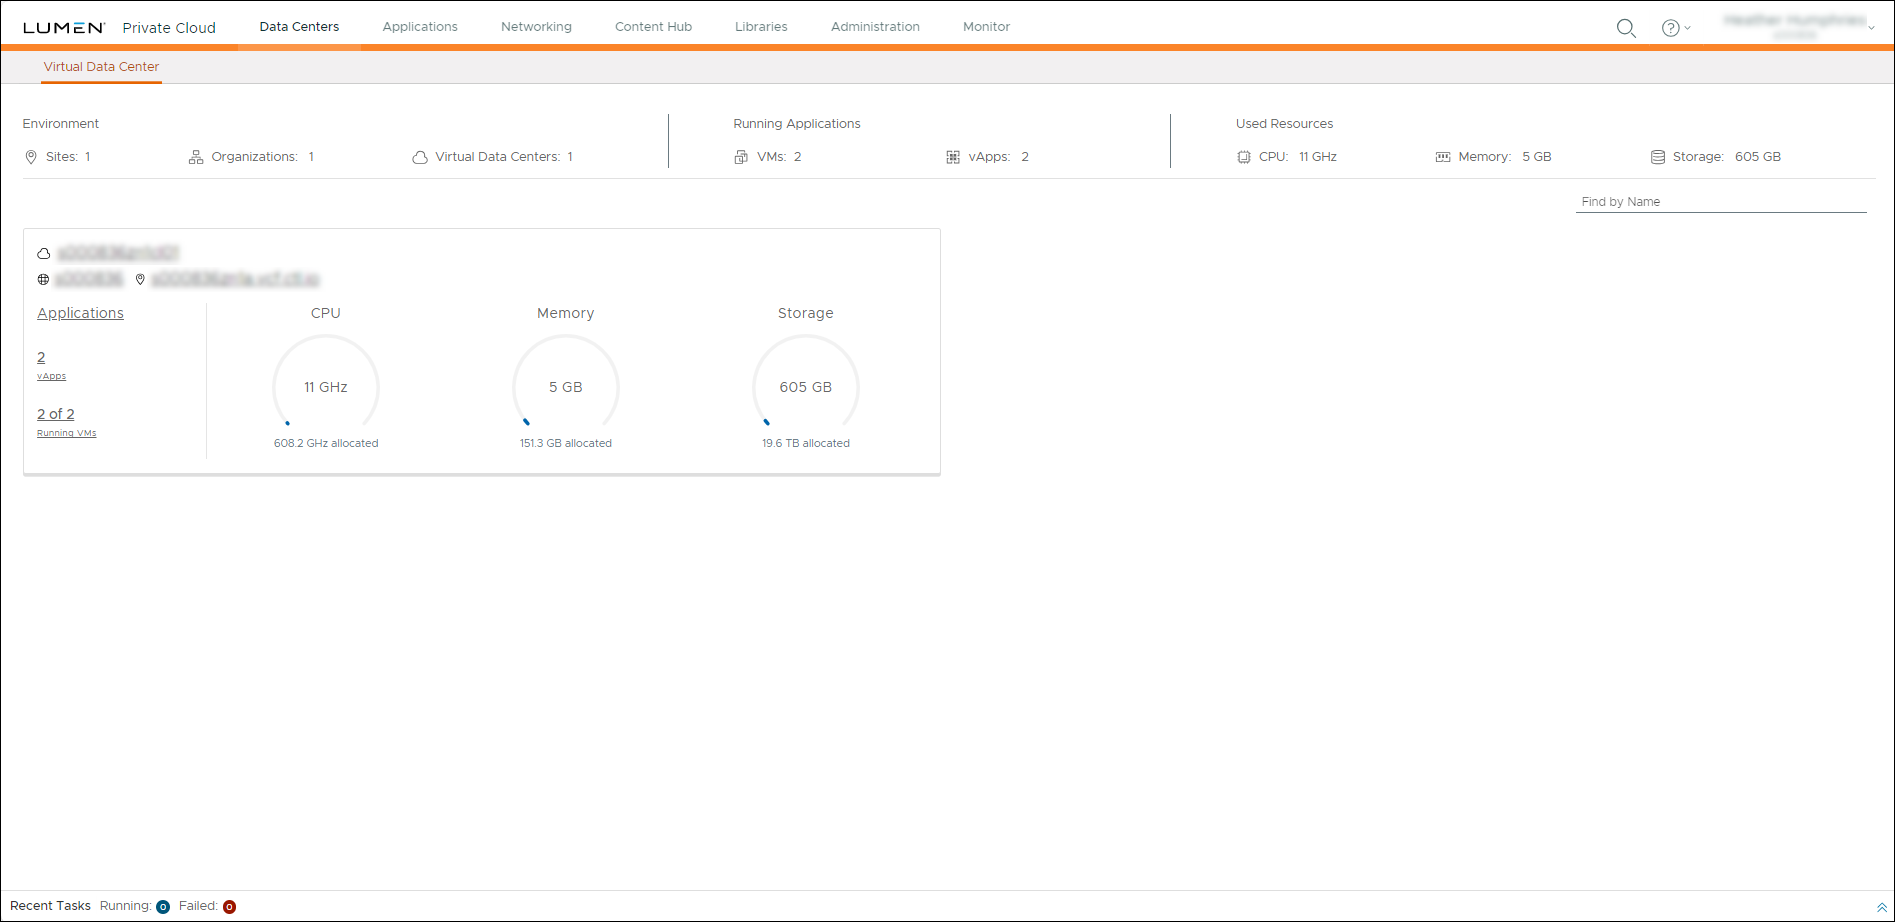
- Click inside the Virtual Data Center summary box to view a list of virtual machines for that data center.
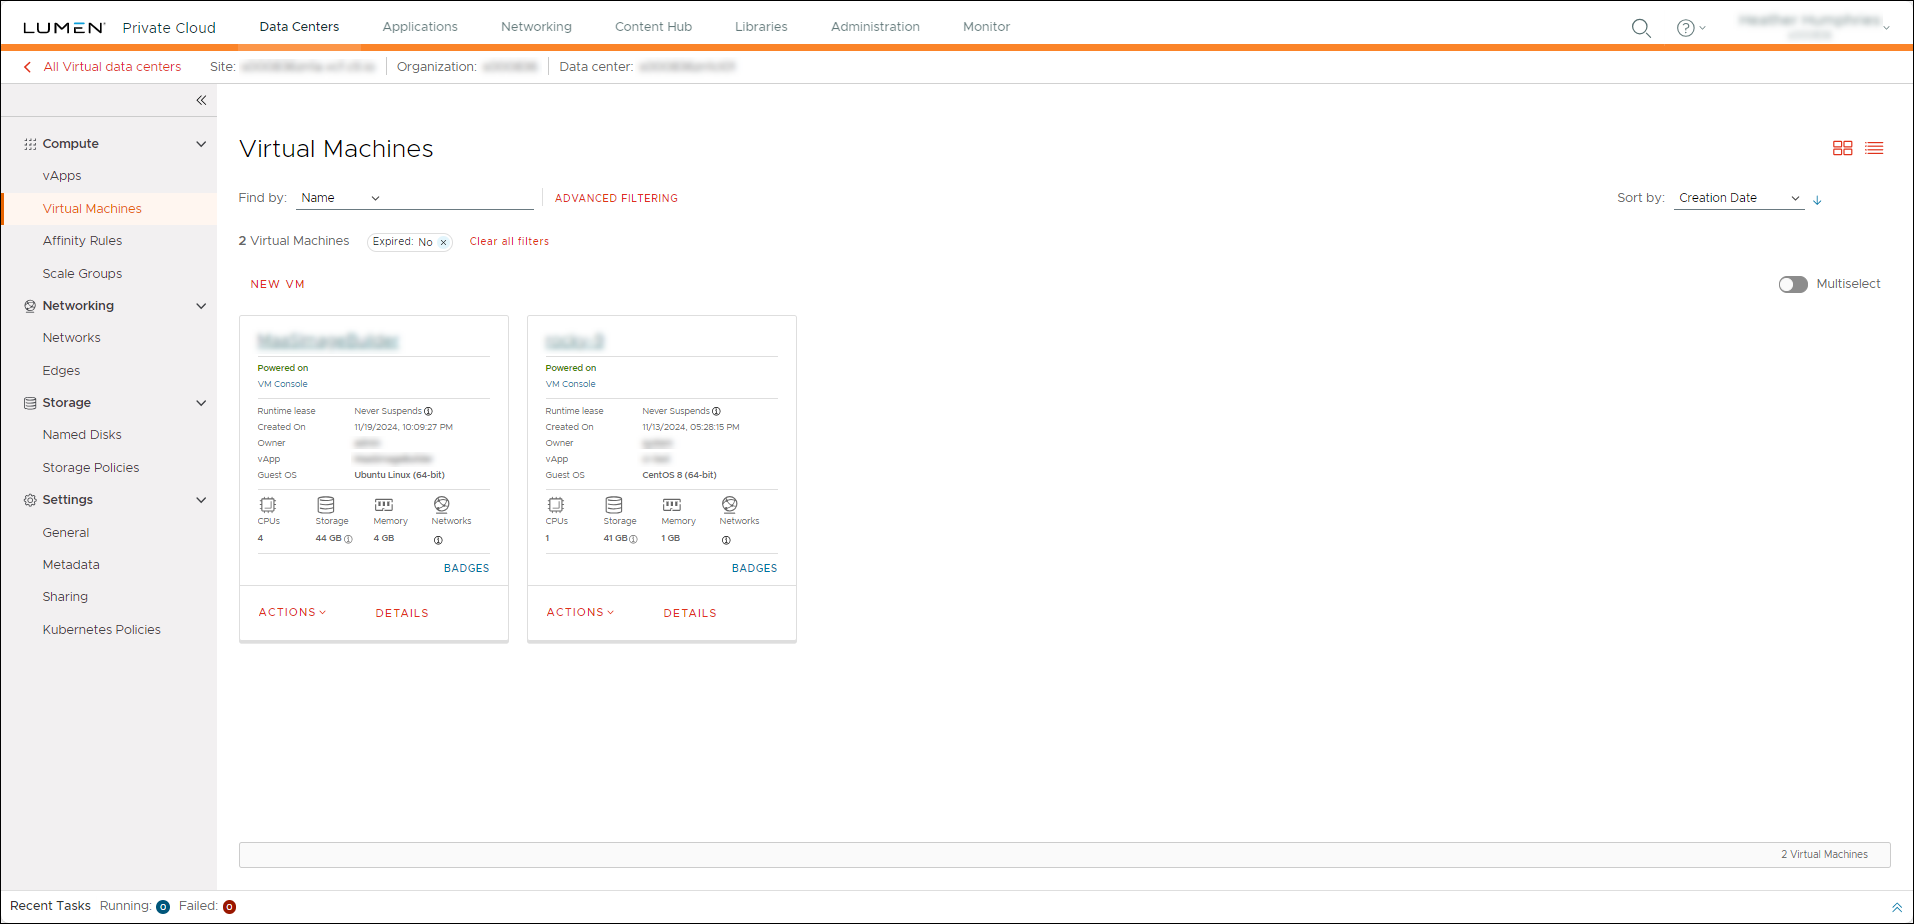
- Click NEW VM to create a new virtual machine.
- Complete the following fields to create a new virtual machine regardless if you are creating it manually or from a template:
- Name—Type a name for the virtual machine.
- Computer Name—Type a name for the computer.
- Description—Type a description of the virtual machine.
- Type—Select one of the following options:
- New—Create a new virtual machine configuration. This option enables fields in the Operating System, Boot Options, Storage, and Networking sections.
- From Template—Create a virtual machine from an existing template. This option enables fields in the Templates and Storage sections.
- New—Create a new virtual machine configuration. This option enables fields in the Operating System, Boot Options, Storage, and Networking sections.
- Power On—Select to power on the virtual machine after it is provisioned. (If you are using a template to create a new virtual machine, we recommend you deselect the Power On checkbox. Doing this will enable you to set the administrator password in Guest OS Customization before a randomly generated password is created.)
- Name—Type a name for the virtual machine.
- Choose how you want to create the new virtual machine:
If you are creating a new virtual machine (not from a template), complete the following fields in the New VM window:
- In the Operating System section, choose your operating system information:
- Guest OS family—Select the OS family for the virtual machine.
- Guest OS—Select the OS for the virtual machine.
- Boot Image— Select the boot image for the virtual machine.
- Guest OS family—Select the OS family for the virtual machine.
- In the Boot Options section choose how you want your virtual machine to boot:
- Boot Firmware—Select either BIOS or EFI for the virtual machine.
- EFI Secure Boot—Select to ensure that the virtual machine boots using only software trusted by the OEM (Original Equipment Manufacturer).
- Enter Boot Setup—Select to have the virtual machine enable access to boot setup through the operating system.
- Boot Firmware—Select either BIOS or EFI for the virtual machine.
- In the Compute section, choose the computing power for your virtual machine:
- CPU—Select the number of CPUs for the virtual machine.
- Cores per socket—Select the number of cores per socket. The options available depend on the number of CPUs selected for the virtual machine.
- Number of sockets—This field shows the number of sockets the virtual machine has available based on the number of CPUs evenly distributed over the cores per socket selected.
- Memory— Select the amount of memory for the virtual machine. This amount can be in either megabytes (MB) or gigabytes (GB).
- CPU—Select the number of CPUs for the virtual machine.
- In the Storage section, choose the storage configuration for the virtual machine. To add more storage disks, click ADD. To delete storage disks, click the icon.
- Storage Policy—Select the storage policy for the virtual machine.
- Size—Select the storage size for the virtual machine. This amount can be in either megabytes (MB) or gigabytes (GB).
- Use custom storage policy—Select this option to use a custom storage policy.
- Storage Policy—Select the storage policy to apply to the virtual machine. (This option is available if you selected Use custom storage policy.)
- Storage Policy—Select the storage policy for the virtual machine.
- In the Networking section, choose the network configuration for the virtual machine. To add additional networks, click ADD. To delete a network, click the icon.
- Select the Network, Network Adapter Type, and IP Mode, and then toggle the Primary NIC (network interface card) option. If you use the default network-0 network, you must set the IP Mode to Static - IP Pool
If you are creating a virtual machine from a template, complete the following fields in the New VM window:
- Templates—Select the template for the virtual machine OS.
- Storage—Select the Storage Policy for the virtual machine storage. To add more storage disks, click ADD. To delete storage disks, click the icon.
- NICs—Toggle the Primary NIC (network interface card) option, select the Network, Network Adapter Type, IP Mode, and MAC Address. If you use the default network-0 network, you must set the IP Mode to Static - IP Pool,
Click OK.
Lumen Private Cloud on VMware Cloud FoundationTM creates the virtual machine. The virtual machine appears at the top of the list on the Virtual Machines page.


