Adding a connection between two Azure Gov locations
You can add a Lumen® Ethernet On‑Demand connection between two Microsoft Azure Gov locations using Lumen Connect℠. To add the connection, you'll need ExpressRoute service keys from Microsoft (which you receive when you create an ExpressRoute circuit using the Azure portal). Be sure to have that information handy to type in (or copy/paste). Microsoft Azure Gov provides two EVCs for the connection (which Lumen Connect creates when you build the connection). You'll only be billed for one; the other is for redundancy.
Azure Gov also requires Q‑in‑Q style tagging (known as double‑stacked tags or 802.1ad) at the NNI. This provides layer‑2 flexibility by allowing multiple VLAN tags to be inserted into a single frame. Inner VLAN tags (C‑Tags) that identify your traffic are inserted inside the outer VLAN tags (S‑Tags) provided by the service provider. The S‑Tag becomes a single VLAN that carries multiple VLANs. A single VXC carries the bundled VLAN tags between the two network endpoints.
For Ethernet On‑Demand connections to Microsoft Azure Gov, your equipment must support 802.1ad (Q‑in‑Q). We recommend configuring your router for Q‑in‑Q before adding your Ethernet On‑Demand connection. Q‑in‑Q can be difficult to set up. Use the example below to set up Q‑in‑Q.
Here’s an example below with a Cisco router.
You’ll assign the outer tag in NaaS Manager and the inner tag in the Azure portal (peering VLAN).
‘Primary EVC VLAN – 100 - NaaS Manager
‘Secondary EVC VLAN – 200 - NaaS Manager
‘Private Peering – VLAN 300 - Azure portal
‘MSFT Peering – VLAN 400 - Azure portal
interface GigabitEthernet0/1.100300
encapsulation dot1Q 100 second-dot1q 300 ‘Azure Private primary peer
description "Cloud Connect"
ip address xxx.xxx.xxx.xxx 255.255.255.252
interface GigabitEthernet0/1.200300
encapsulation dot1Q 200 second-dot1q 300 ‘Azure Private secondary peer
description "Cloud Connect"
ip address xxx.xxx.xxx.xxx 255.255.255.252
interface GigabitEthernet0/1.100400
encapsulation dot1Q 100 second-dot1q 400 ‘MSFT primary peer
description "Cloud Connect"
ip address xxx.xxx.xxx.xxx 255.255.255.252
interface GigabitEthernet0/1.200400
encapsulation dot1Q 200 second-dot1q 400 ‘MSFT secondary peer
description "Cloud Connect"
ip address xxx.xxx.xxx.xxx 255.255.255.252
There are three steps to successfully add and use a connection between two Azure Gov locations:
Note: You can only use a service key that isn't assigned to an active connection. The ExpressRoute service key is a unique service key and is different from the service key for your cloud service from Azure.
Step 1: Create the ExpressRoute circuit
To create an ExpressRoute circuit in the Azure Gov portal:
- Go to the Azure Gov portal and sign in to create an ExpressRoute circuit.
- Copy the Service key. You will paste this when creating the On-Demand connection.
- Verify the Azure Gov portal shows Not provisioned in the Provider status field and Enabled in the Circuit status field for the ExpressRoute circuit. Learn more about ExpressRoute circuit status
Step 2: Add the connection in Lumen Connect
To add the Ethernet On‑Demand connection:
- Using the left menu, click Services, then click Add Services.
Lumen Connect shows services you can add with the Lumen digital experience.
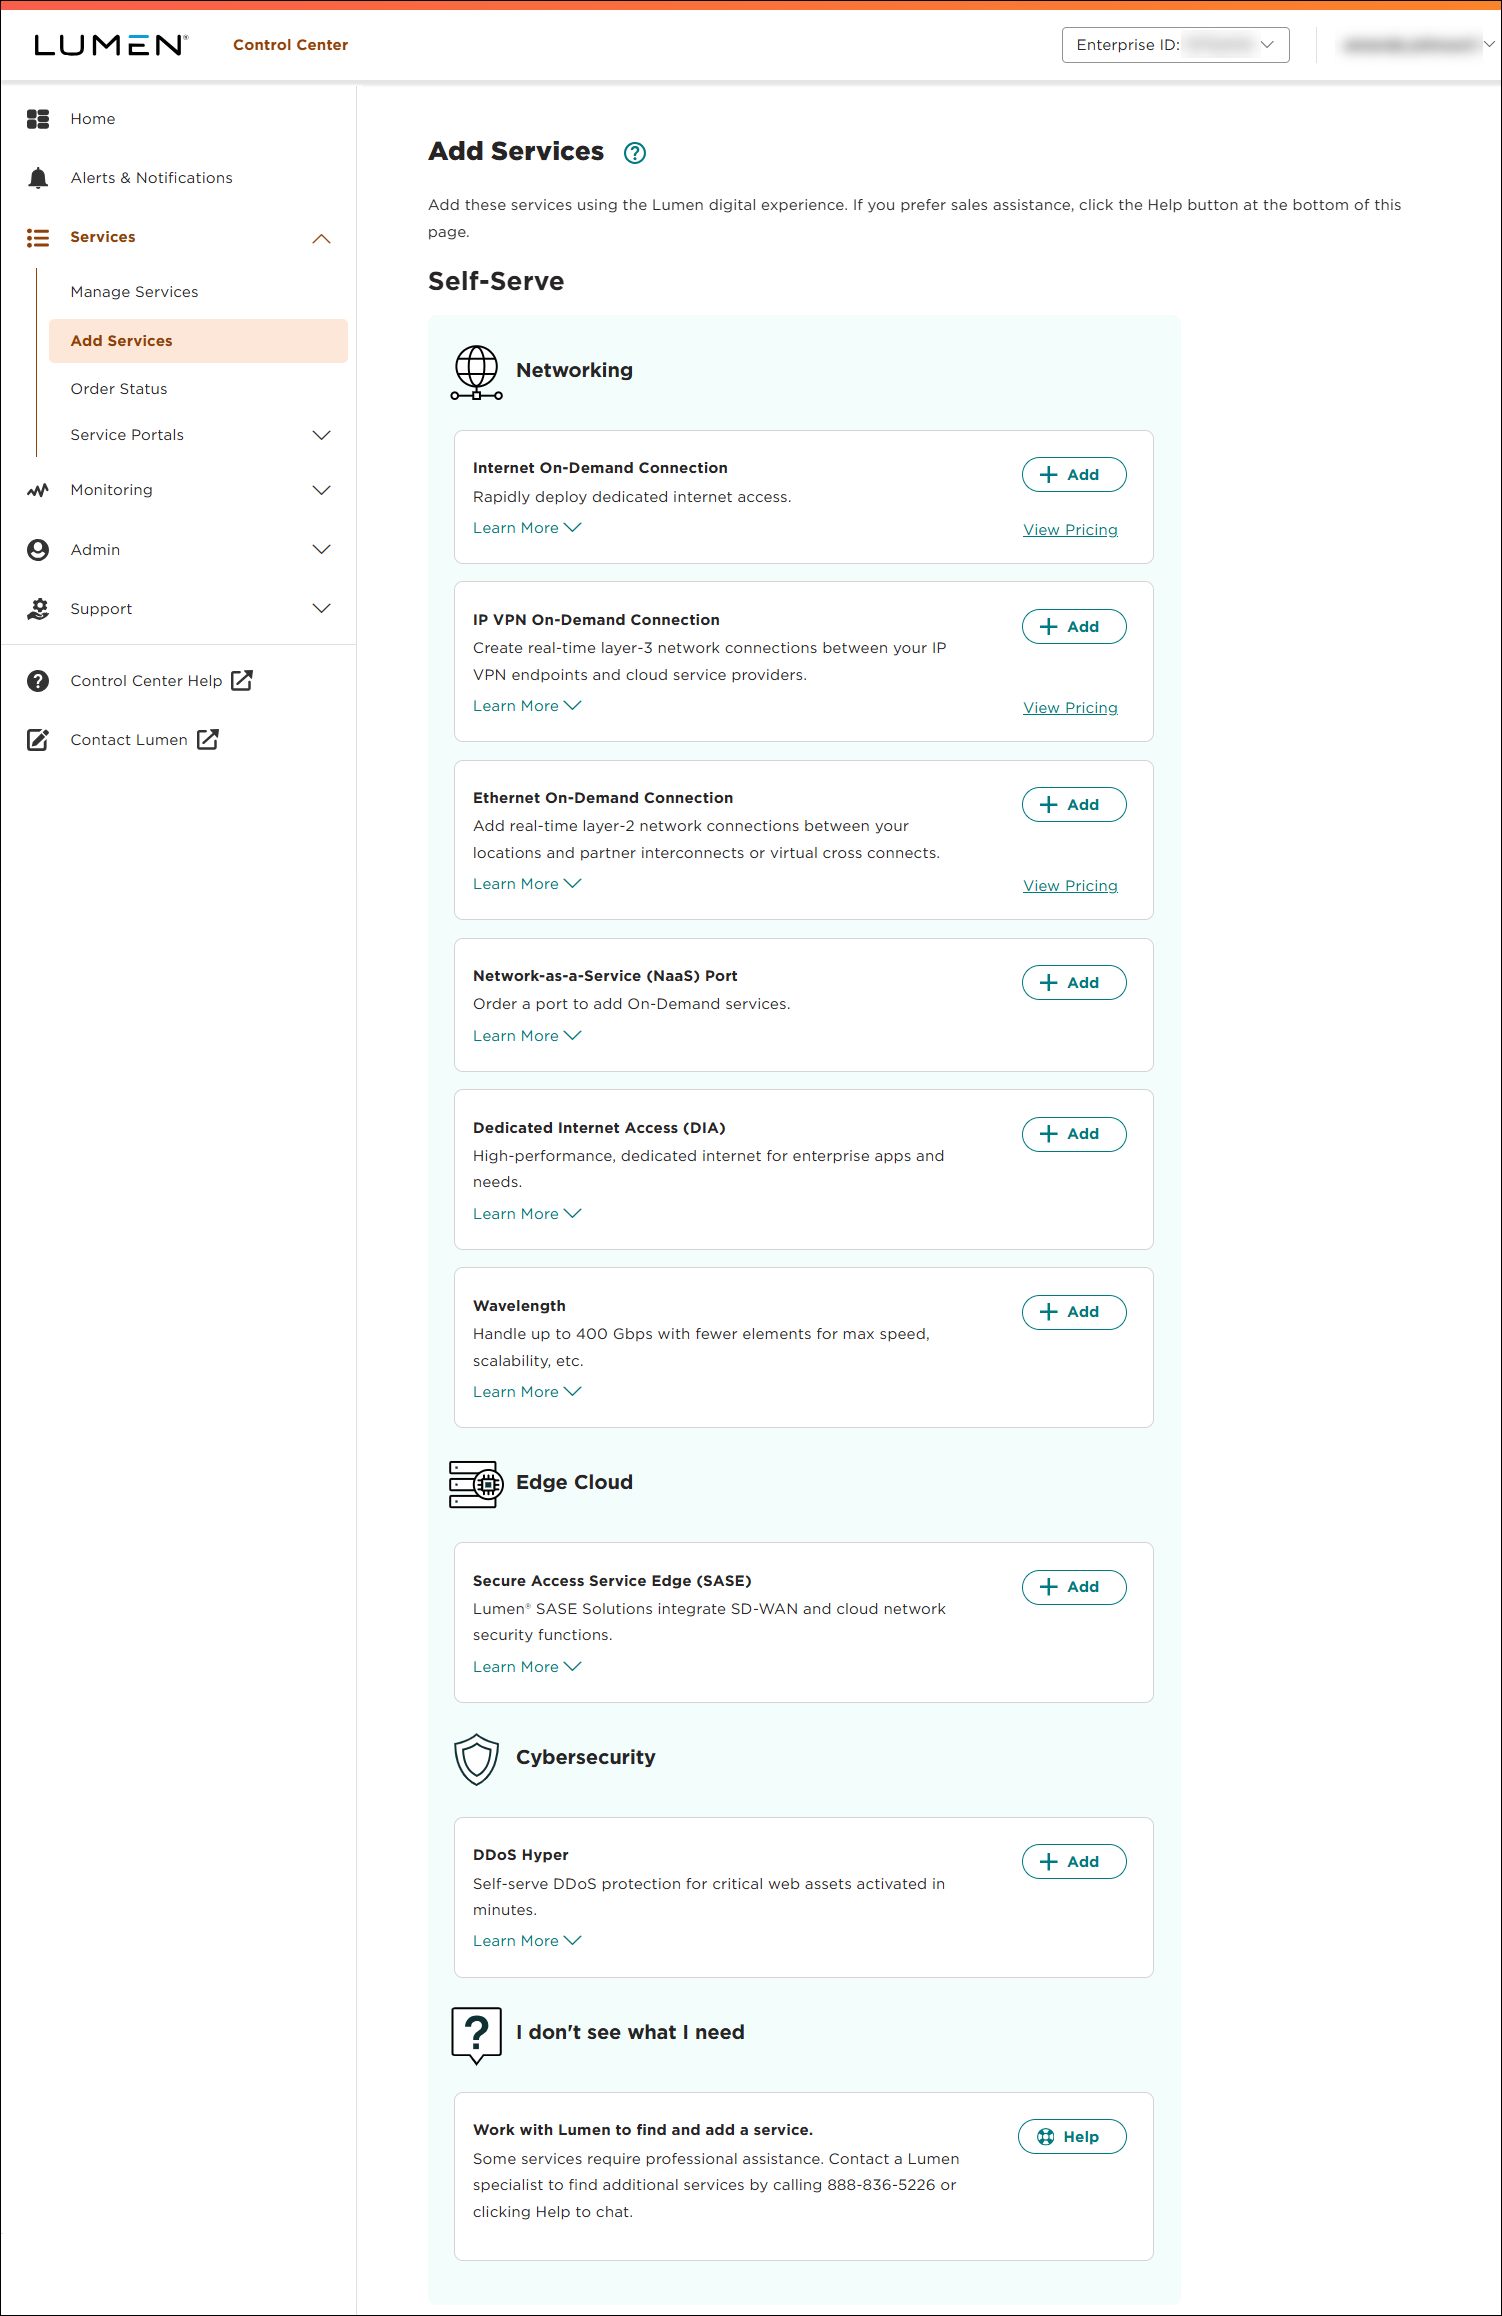
- Click + Add for Ethernet On-Demand.
- From the Customer Account and Billing Account lists, select the customer number and billing account number you want to add Ethernet On-Demand to.
- In the Service Nickname field, type a name for the connection you're creating. (Be sure to use something memorable. This name will appear on your invoice.)
- In the From Location field, select Cloud Provider.
- Fill in the information for the connection:
- In the Cloud Provider field, select Azure (Gov).
- In the ExpressRoute Service Key field, type or copy and paste your ExpressRoute service key provided by Microsoft. (Note: You can only use a service key that isn't assigned to an active connection. The ExpressRoute service key is unique and is different from the service key for your cloud service from Azure.)
Once you enter the ExpressRoute service key, Lumen Connect validates it with Microsoft.
Learn more about peering requirements
Learn more about creating peering
- In the Cloud Provider field, select Azure (Gov).
- In the To Location field, select Cloud Provider.
- Fill in the information for the connection:
- In the Cloud Provider field, select Azure (Gov).
- In the ExpressRoute Service Key field, type or copy and paste your ExpressRoute service key provided by Microsoft. (Note: You can only use a service key that isn't assigned to an active connection. The ExpressRoute service key is unique and is different from the service key for your cloud service from Azure.)
Once you enter the ExpressRoute service key, Lumen Connect validates it with Microsoft.
- If you'd like to use a second port for redundancy, do the following:
- In the Enable port redundancy? field, select Yes.
Lumen Connect adds a Secondary Port Location field (next to the Primary Port Location field) so you can select the redundancy location.
- In the Secondary Port Location fields select the connection origination endpoint.
- Update the Secondary Ce‑vlan field if needed.
Learn more about peering requirements
Learn more about creating peering
- In the Enable port redundancy? field, select Yes.
- In the Cloud Provider field, select Azure (Gov).
- Click Continue.
- In the Class of Service field, select whether you want Basic, Enhanced, or Dedicated. (Higher classes of service offer higher availability SLAs and allow you to increase traffic prioritization for your EVC.)
- Basic (best effort): The service may be oversubscribed on the Lumen network.
- Enhanced (mid class): Enhanced EVCs (ethernet virtual circuits) can still be oversubscribed like Basic class of service EVCs; however, traffic is marked with an internal class of service marking which will prioritize your traffic over best-effort traffic during times of congestion. For EVCs with this class of service, bandwidth is not reserved on the Lumen network and traffic will not take priority over real-time traffic in the network.
- Dedicated (real time): The quality of service offering with the highest priority on the Lumen network. In addition, Lumen reserves the bandwidth for this EVC across the network on each ring that the EVC touches. Once it is dedicated to you, that bandwidth (and the corresponding CE-VLANs) sits in reserve regardless of how much bandwidth you use.
- Basic (best effort): The service may be oversubscribed on the Lumen network.
- Use the Billing Method buttons to select whether you want monthly or hourly billing for the connection.
Lumen Connect shows pricing for the billing method you selected.
- In the Select Bandwidth field, select the bandwidth for the connection. Bandwidth options vary based on selected locations and cloud service providers. The maximum bandwidth available is the highest matching bandwidth at both locations.
- Click Continue.
- Review your connection information then click Submit Order.
Lumen Connect creates the connection request and places it in the Pending Activation status. From here, you can view the connection status.
Step 3: Finish provisioning the ExpressRoute circuit with Azure
To finish provisioning the ExpressRoute circuit:
- Once the connection is in Active status, view the details for the information you need to take back to the Azure Gov portal to finish setting up the connection and creating the Azure private peering.
- Complete the provisioning of your ExpressRoute circuit in the Azure Gov portal.
- Once Azure provisions the ExpressRoute circuit, the Provider Status field shows Provisioned.


