Adding a filter to sort billing data in Bill Analyst
You can use filters to refine and focus summary and detail reports in Bill Analyst. You can create a filter for a specific report type (e.g., charges, usage, accounts receivable, credits and adjustments). When you add a filter to a report, you can select any filter that is available for that report type. You can also edit filters you've created or delete filters you no longer need.
Every filter requires at least one condition. You use three components to set up a data filter condition:
- Reporting field—a piece of data (e.g., area code, account number, duration, originating city).
- Comparison operator—how the relationship between the reporting field and value will be tested (e.g., contains, does not contain, is equal to) or whether the operator appears in a list.
- Value—what the reporting field is being compared to.
Examples:
- Charge, is greater than, $x.
- Day of Week, is equal to, Tuesday.
- Data Volume, is greater or equal, to 5GB.
To add a filter to sort billing data:
- Using the left menu, click Billing, then click Bill Analyst.
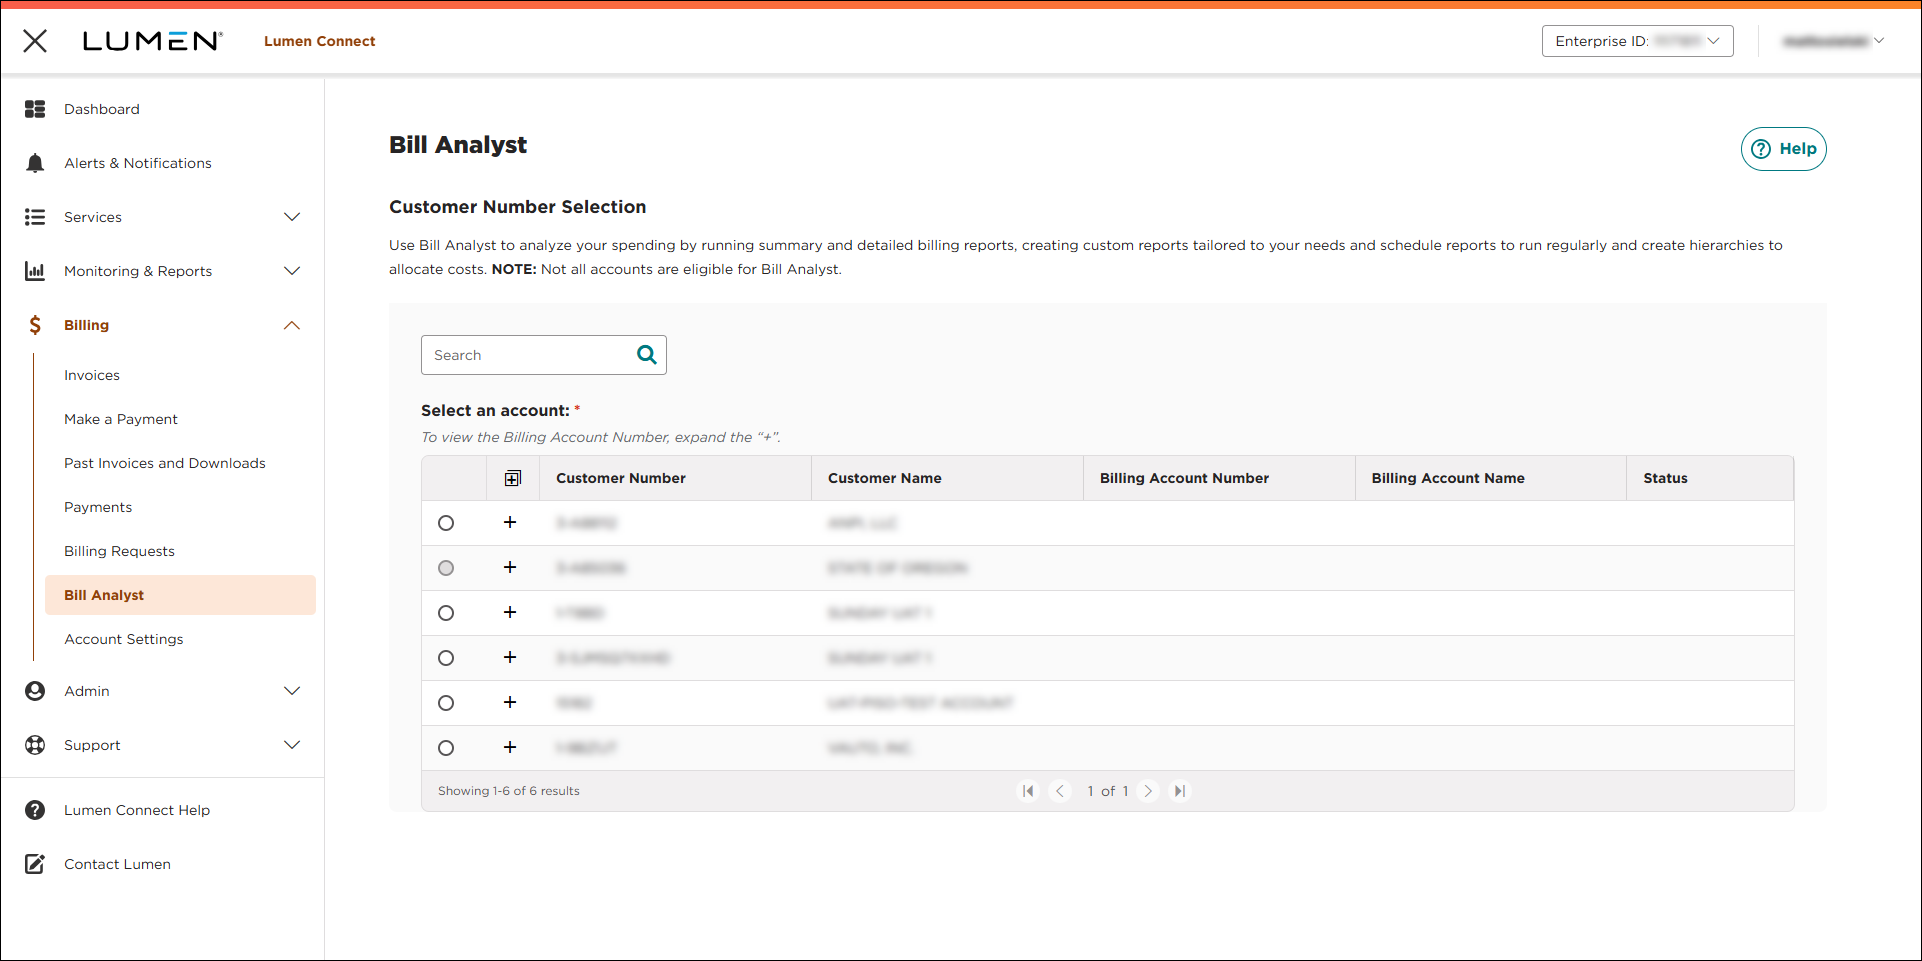
- Select the radio button next to the account you want to view, then click LAUNCH BILL ANALYST.
Lumen Connect opens Bill Analyst on a new tab.

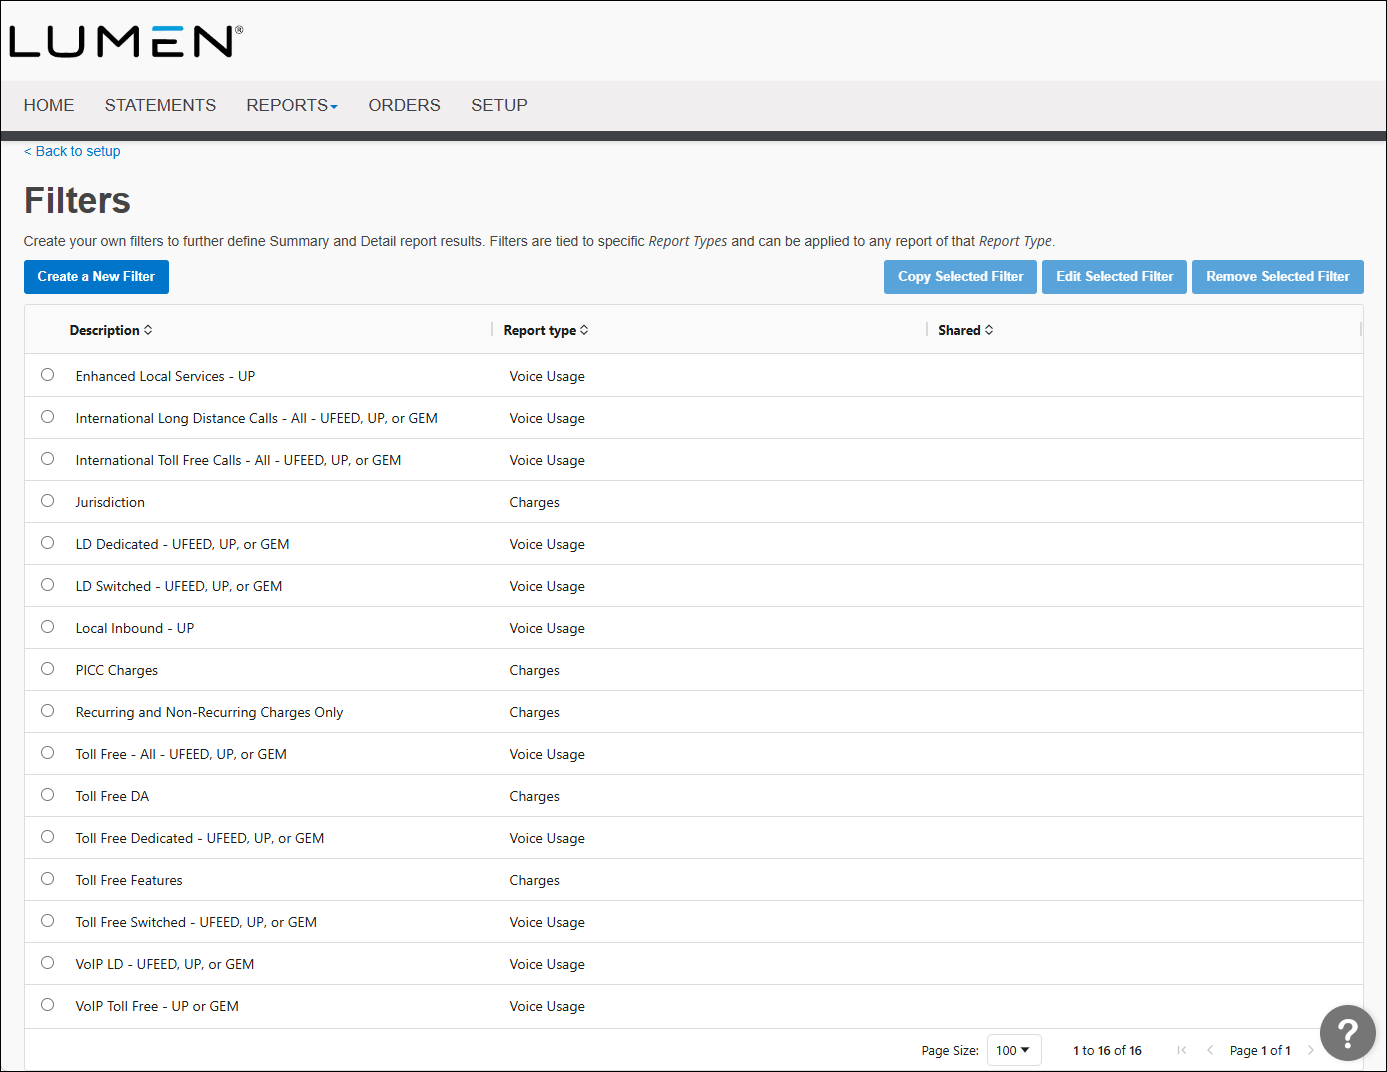
- Click the Setup tab.
- In the Tools section, click Filters.
- Click Add Filter, then select how you want to create the filter:
- Select the Start with a copy of an existing filter radio button, then from the Name list, select the existing filter.
- Select the Start a new filter of type radio button, then from the Filter Type list, select the type of report.
- Select the Start with a copy of an existing filter radio button, then from the Name list, select the existing filter.
- Click Continue.
- Type a name for your filter.
- In the Criteria section, select your filtering parameters from the list (Any of the following are true or All of the following are true), then click Add Condition.
- From the first list, select the field you want to apply the filter to (e.g., Account Number, Amount Due, Bill Date). (For example, we selected Billing Account Number.)
- From the second list, select a comparison operator (e.g., contains, is equal to, starts with, etc.). (For example, we selected is equal to.)
- In the third field, type a value (e.g., $5, Tuesday, 5GB). (For example, we typed 123456578, the billing account number we want to filter for.)
- In the Sharing section, select whether you want others to be able to view and use this filter: click Share this filter to share it; click Don't share this filter to keep your filter private.
A shared filter can only be edited or deleted by the person who created it.
- Click Save.
New filters appear on the filter page (you may need to scroll down to see them). If you've shared a filter, there will be a notation in the Shared column.


