Assigning SIP Trunking phone numbers and managing 911 information
After you add phone numbers to a Lumen® SIP Trunking service, you assign phone numbers to users in your organization using Lumen Connect. Those users then must keep the physical address associated with their phone number current for emergency services. That way, if 911 is called from the phone, first responders will know what address to go to. Emergency services will only be routed to the address listed on the My 911 Locations screen. In addition to the address, the first name, last name, and email address must also be assigned to the user. This is known as a primary place of use (PPU). After assigning the phone number to the user, you can also customize the calling area for the phone number.
Assigning a SIP Trunking phone number to a user
To assign a SIP Trunking phone number to a user:
- In the Services widget on the dashboard, select IQ Networking from the Find by Product or Service Tool list.
Lumen Connect shows all IQ Networking services on the enterprise ID. SIP Trunking services have a service ID starting with VO-.
- Search for the service you want to work with. When you find the service you want to work with, click the hyperlinked service ID or click the icon (in the Actions column), then click View Details.
Lumen Connect shows details for the SIP Trunking service you selected.
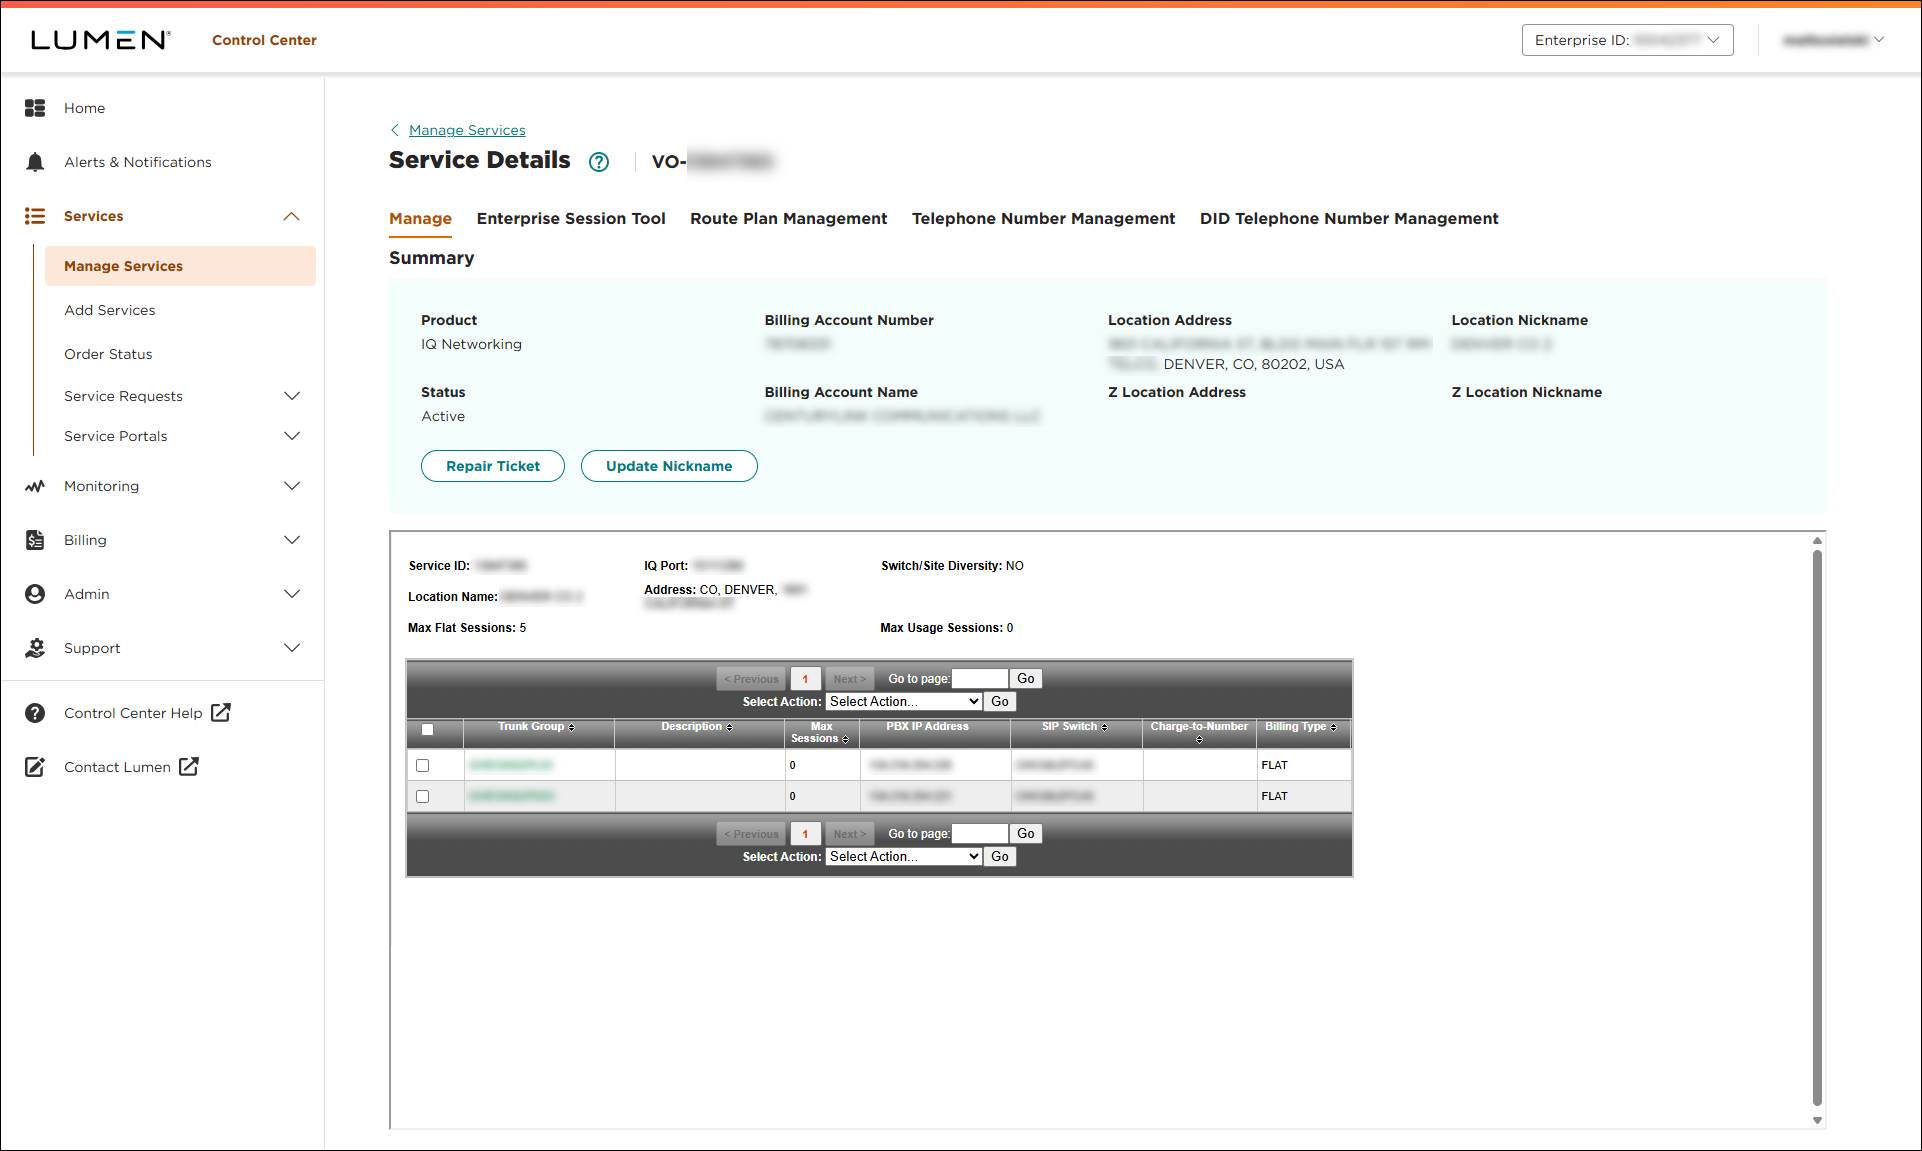
- Click the Telephone Number Management tab.
Lumen Connect shows the telephone number(s) for the service.
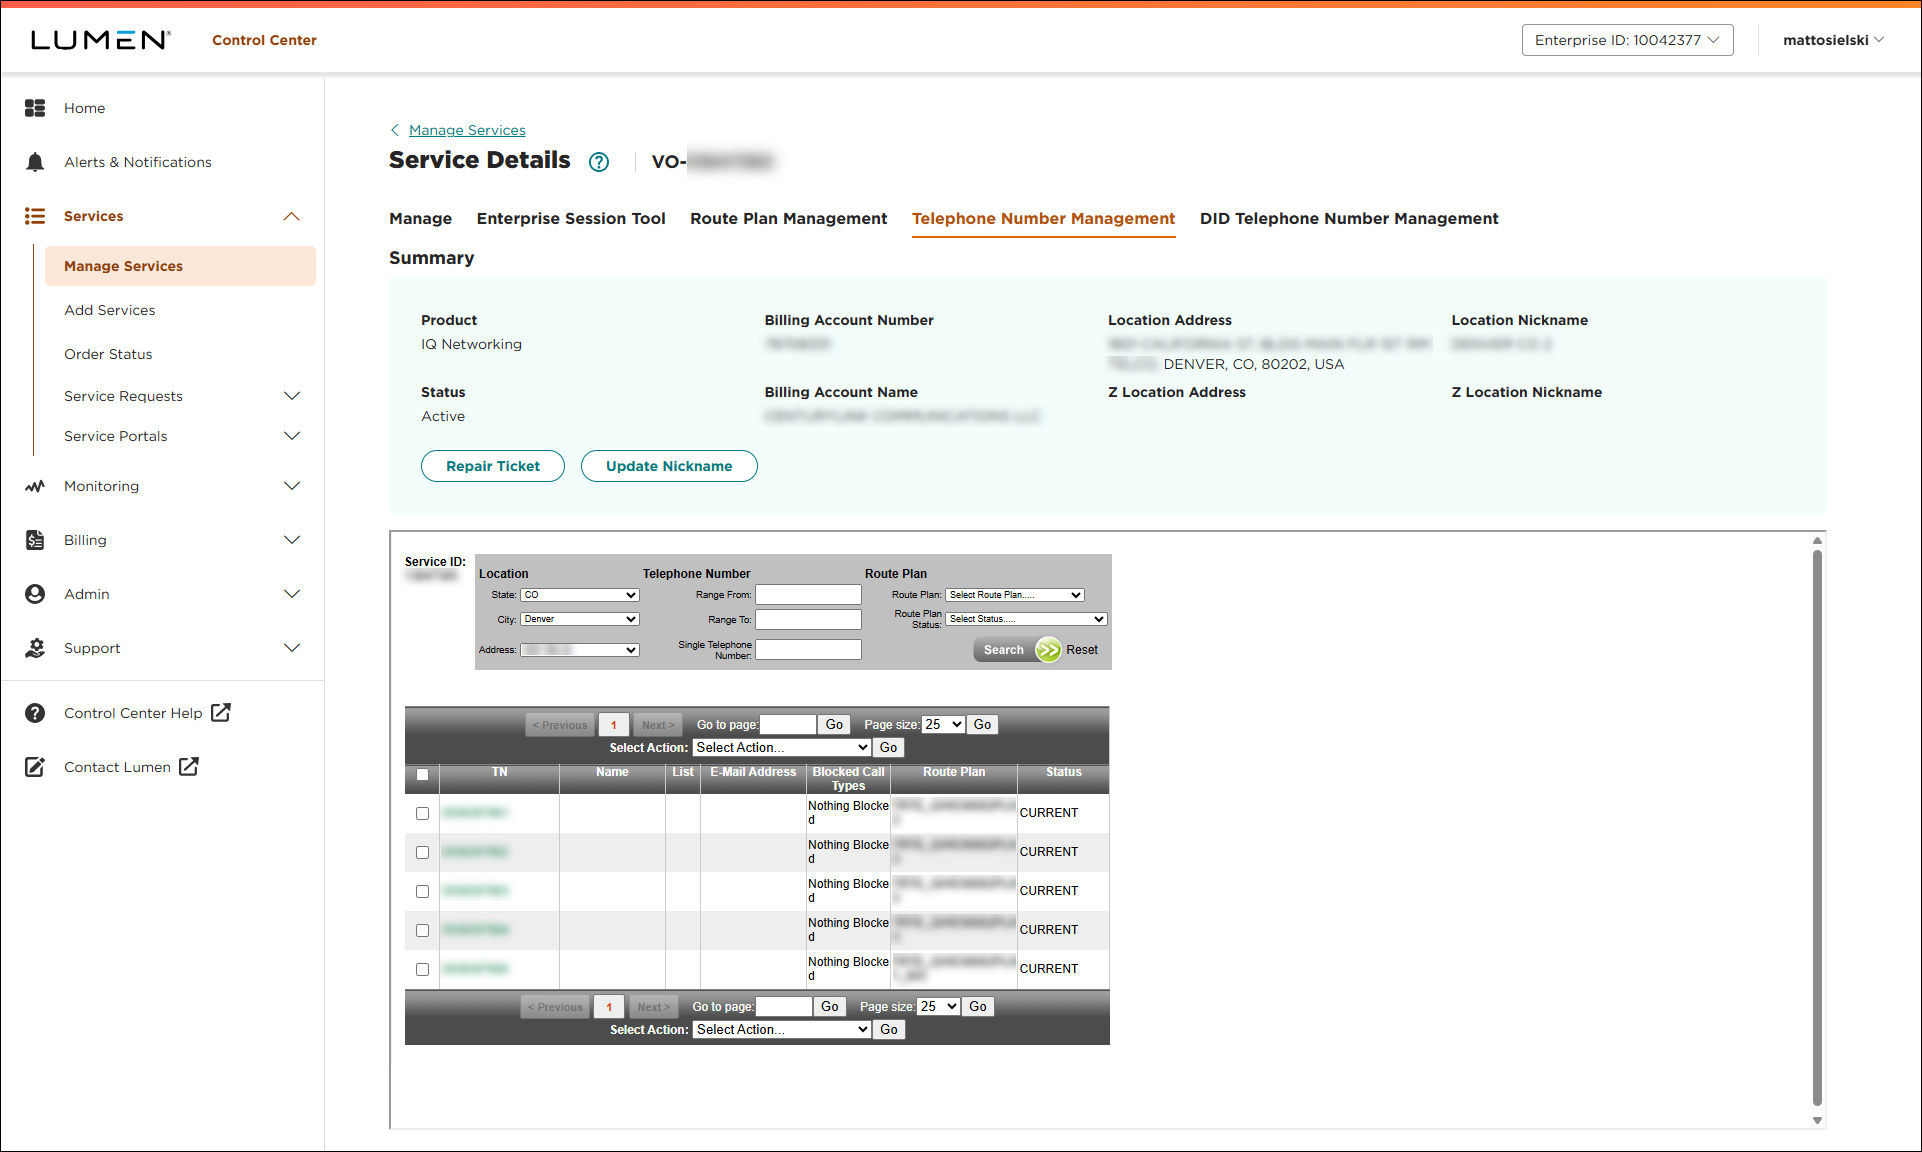
- Select the checkbox next to the phone number you want to assign information to.
- From the Select Action list, select Edit TNs Individually.
- Click Go. (If you need to change a large block of phone numbers, you can do a bulk upload.)
- For each phone number, fill in the last name, first name, and email address for the person who will be using the number. (If you selected more than one, use the down (and up) arrow to move between phone numbers.)
- Click Update.
Your changes are effective immediately.
After you assign a phone number to a user, that person is responsible for keeping the PPU location information current and can do so in Lumen Connect.
Managing PPU location information
Lumen Connect shows the My 911 Locations screen and shows the location for your phone that was assigned when your number was set up.
- Do one of the following:
- To accept the location shown on the screen, click Save.
- To change your phone's location now, click Change Current Location, make your changes, then click Save.
If you want to move your service to a different location, you must get Lumen approval—either by submitting a request via the My 911 Locations screen or by contacting us. Approval is needed because not all address changes can be approved because 911 services are not provided everywhere.
- To schedule a location change (e.g., if you know you are moving offices or taking your phone home), click Schedule Future Change, make your changes, then click Save.
Requests to modify a 911 address are typically processed within 15 minutes of submission.
- To store more than one location (e.g., if you will be moving your phone frequently), click Manage My Locations, make your changes, then click Save.
If you changed the location or added locations, you'll receive an email confirming your changes. (If you don't receive an email, check your profile to make sure your email address is correct, contact your system administrator, or contact us.
- To accept the location shown on the screen, click Save.


