Adding a Multi-Cloud Gateway
Use Lumen Connect℠ to add a Lumen® Multi-Cloud Gateway for private, predictable networking between cloud providers, data centers, and enterprise locations on the Lumen network.
Use the steps below to add and configure all Multi-Cloud Gateway features. You can also add more interfaces and Fabric Connections, and create additional BGP sessions, prefix lists, and static routes after completing these initial steps.
Before you begin adding and configuring, be sure you have the following information ready:
- Cloud service provider (CSP) keys
- IP addresses
- MD5 password if using additional security
There are four steps to add and configure a Multi-Cloud Gateway:
Step 1: Add the Multi-Cloud Gateway
To do add the Multi-Cloud Gateway:
- Using the left menu, click Services, then click Add Services.
Lumen Connect shows services you can add with the Lumen digital experience.
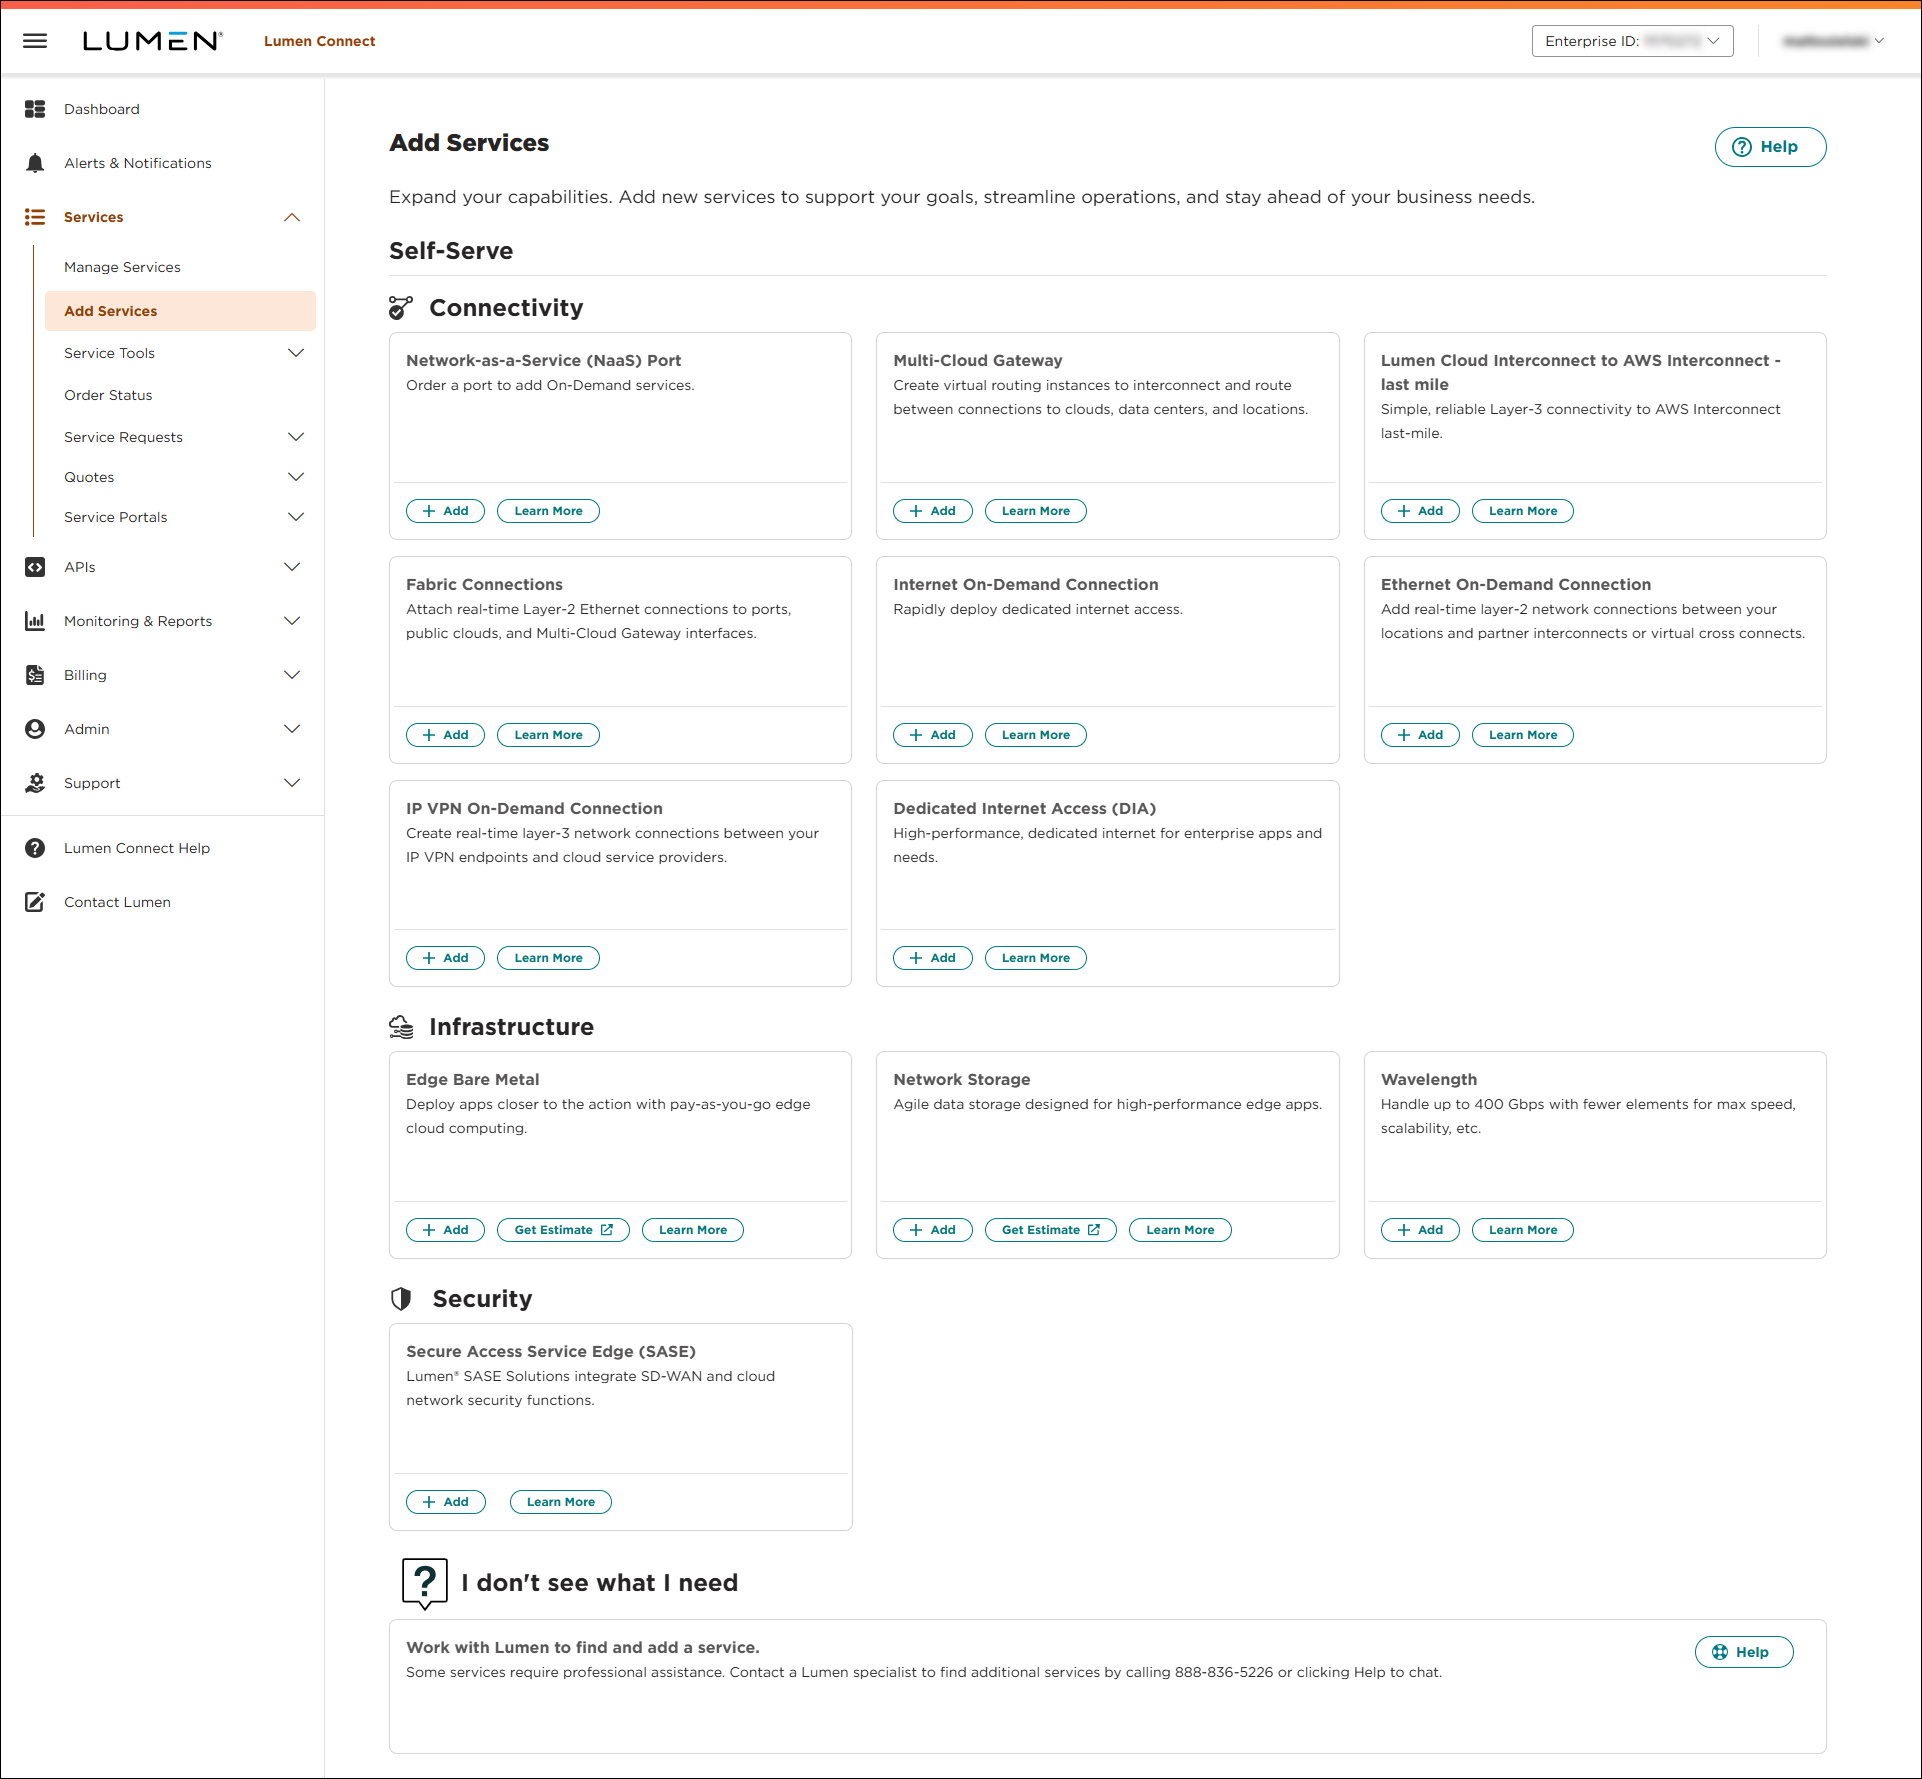
- Click + Add for Multi-Cloud Gateway.
- Select a customer and billing account, then click Continue.
Not sure which billing account number to select? Consult your accounting department for help selecting a billing account number.
Note: If you can’t click on anything, you’ll need to contact your Lumen Connect system administrator to get NaaS permissions.
- In the Service Nickname field, type a name for the Multi-Cloud Gateway you're creating. (Be sure to use something memorable. This name will appear on your invoice and in your list of services.)
- Use the Description field to record additional information about the Multi-Cloud Gateway.
- Click Continue.
- Review the order information, then click Submit.
Lumen Connect provisions the Multi-Cloud Gateway, then shows a success message when it's ready to add an interface.
Step 2: Add an interface
To add an interface:
- Click Add Interface on the Multi-Cloud Gateway success message.
- Select a billing account, then click Continue.
Not sure which billing account number to select? Consult your accounting department for help selecting a billing account number.
- In the Service Nickname field, type a name for the connection you're creating. (Be sure to use something memorable. This name will appear on your invoice and in your list of services.)
- Use the Description field to record additional information about the interface.
- Select the IPv4 Provider:
- If you're bringing your own IP space, select Provide your own IP, then type the IPv4 Address using CIDR notation.
- If you need Lumen to provide IP space, select Lumen IP.
- If you're bringing your own IP space, select Provide your own IP, then type the IPv4 Address using CIDR notation.
Note: Oracle and Google do not support Lumen IP addresses. Provide your own IP address to add connections to Oracle and Google. Oracle also requires that you create a BGP session for the interface before adding the connection.
- Select a Billing Method.
- Click Continue.
- Review the order information, then click Submit.
Step 3: Add a Fabric Connection
To add a Fabric Connection:
- Select a customer and billing account, then click Continue.
Not sure which billing account number to select? Consult your accounting department for help selecting a billing account number.
Note: If you can’t click on anything, you’ll need to contact your Lumen Connect system administrator to get NaaS permissions.
- In the Fabric Connection Type field, select Virtual Point-to-Point.
- Select the Source Port from the list.
Not sure which port to select? Consult your Port Ready notification and refer to the service ID.
- Enter a Source VLAN.
- Select the Destination Multi-Cloud Gateway from the list, then select the Destination Multi-Cloud Gateway Interface.
- Click Continue.
- In the Class of Service field, select whether you want Basic or Dedicated. (Dedicated offers higher availability SLAs and allows you to increase traffic prioritization for your EVC.)
- Basic (best effort): The service may be oversubscribed on the Lumen network.
- Dedicated (real-time): The quality of service offering with the highest priority on the Lumen network. In addition, Lumen reserves bandwidth for this EVC across the network on each ring it touches. Once it is dedicated to you, that bandwidth (and the corresponding CE-VLANs) sits in reserve regardless of how much bandwidth you use.
- Basic (best effort): The service may be oversubscribed on the Lumen network.
- Use the Billing Method buttons to select whether you want monthly or hourly billing for the connection.
- In the Select Bandwidth field, select the bandwidth for the connection. Bandwidth options vary based on selected locations and cloud service providers. The maximum bandwidth available is the highest matching bandwidth at both locations.
- Click Continue.
- Review your connection information, then click Submit.
Lumen Connect creates the connection request and places it in the Pending Activation status.
Step 4: Configure BGP and routing
Configure BGP and routing for the Multi-Cloud Gateway using BGP sessions, prefix lists, and static routes.
Border Gateway Protocol (BGP) allows you to manage traffic more precisely and can be complex, requiring extensive understanding of routing protocols and policies. Learn more about BGP and routing policies.
- Using the left menu, click Services, then Manage Services.
Lumen Connect shows a list of all of your services.
- Select Multi-Cloud Gateway from the all products list.
- Click the icon in the Actions column next to the Multi-Cloud Gateway you want to update, then click Service Details.
Lumen Connect shows the Service Details page.
- Click the BGP tab, then click Create BGP Session.
- Fill in the Configuration:
- Type a Session Name that makes the session easy to identify in a list.
- Select the Multi-Cloud Gateway Interface the session applies to.
- Type the Remote Peer IPv4 Address.
- Type the Remote Peer ASN.
- Type a Session Name that makes the session easy to identify in a list.
- Select inbound and outbound prefix lists. All routes will be denied if you don't select any prefix lists.
- Fill in the Advanced Configuration:
- Enable MD5 Authentication, then type your MD5 password to enhance session security.
- Enable Bidirectional Forwarding Detection (BFD) to quickly detect failures and facilitate faster re-convergence time.
- Enable Default Originate if you don’t have a default route. Lumen will announce a default route with default originate configuration.
- Select whether to Redistribute Static Routes.
- Enable MD5 Authentication, then type your MD5 password to enhance session security.
- Click Create.
Lumen Connect creates the BGP session and shows all BGP sessions for the Multi-Cloud Gateway.
Use prefix lists to configure and manage routing tables. Reference prefix lists from IP addresses you use frequently as a set instead of referencing them individually. Learn more about BGP and routing policies.
You'll want to create prefix lists before BGP sessions so you can specify inbound and outbound prefix lists. If you don't specify prefix lists, all routes will be denied.
- Using the left menu, click Services, then Manage Services.
Lumen Connect shows a list of all of your services.
- Select Multi-Cloud Gateway from the all products list.
- Click the icon in the Actions column next to the Multi-Cloud Gateway you want to update, then click Service Details.
Lumen Connect shows the Service Details page.
- Click the Policy tab, then click Create Prefix List.
- Type a Prefix List Name that makes it easy to identify in a list.
- Type the IPv4 Prefix with subnet mask in CIDR notation.
- If you want to influence the inbound routing decision for a prefix, select a number from 100 to 900 in the Local Preference field. Routes with higher values are preferred.
- Set the Match Type.
- To break ties between two routes with the same local preference, AS path, and origin, select 100, 200, or 300 in the Multi-Exit Discriminator (MED) field.
- Select a number between 1 and 3 in the AS Path Prepend field to artificially lengthen the AS route path by repeating the originating AS number.
- Click + Add Another Prefix to add more prefixes to the list.
- Click Create.
Lumen Connect creates the prefix list and shows all prefix lists you've created.
Static routes are manually configured network paths that define how to direct traffic from one device to another. They provide a fixed, predictable route for data to follow. This makes them particularly useful in smaller or stable networks where simplicity and control are priorities. Learn more about BGP and routing policies.
Static routes are specific to a Multi-Cloud Gateway and apply to interfaces based on the next hop.
- Using the left menu, click Services, then Manage Services.
Lumen Connect shows a list of all of your services.
- Select Multi-Cloud Gateway from the all products list.
- Click the icon in the Actions column next to the Multi-Cloud Gateway you want to update, then click Service Details.
Lumen Connect shows the Service Details page.
- Click the Static Routes tab, then click Create Static Route.
- Type a Route Name that makes it easy to identify in a list.
- Type the Destination IPv4 address with subnet mask in CIDR notation.
- Type the IP address to send destination network packets to in the Next Hop field.
- To determine route preference, type a number between 0 and 255 in the Admin Distance field.
- Click Create.
Lumen Connect creates the static route and shows all static routes for the Multi-Cloud Gateway.